


I am so excited to launch my newest product: ceramic tiles!
Ideas for my new kiln
Since buying a kiln and installing it in my garden, I’ve been overwhelmed with where to start. I have so many ideas! But I saw on my material shelf that I had a couple of bisque tiles left from my ceramic experiment many years ago – so I bought some more so that I had about 20 to start with.
Painting the tiles
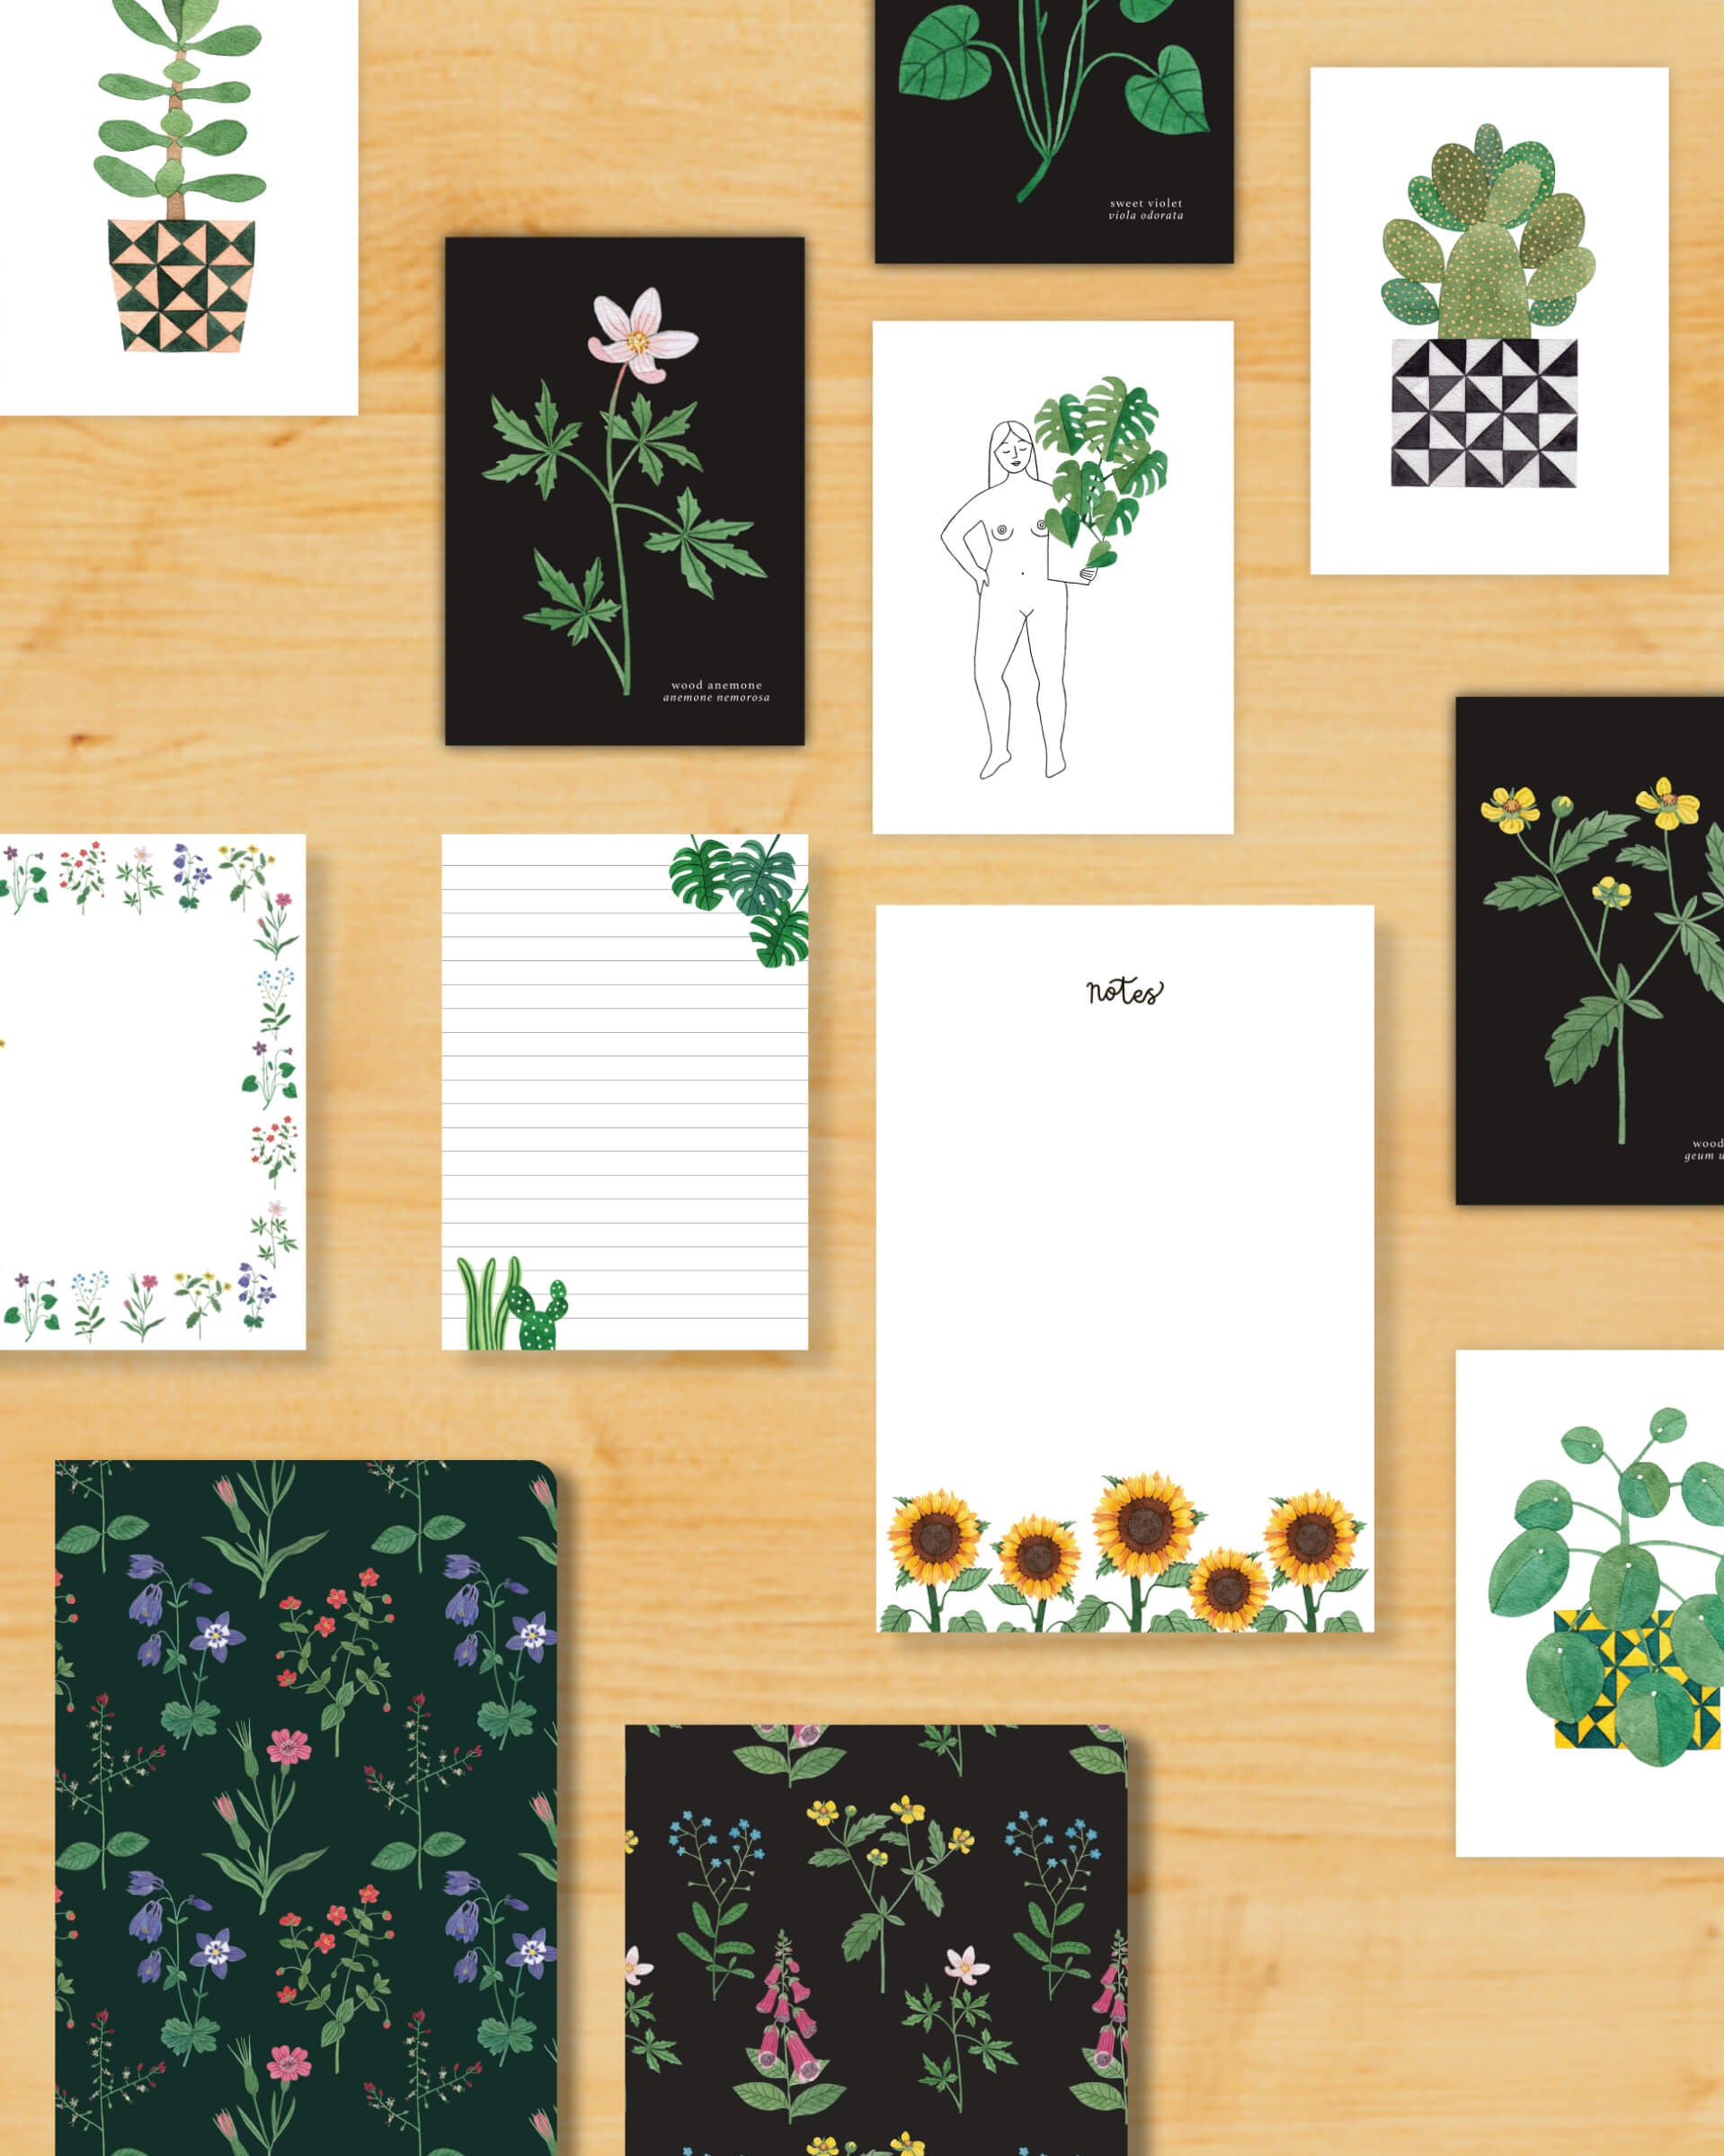
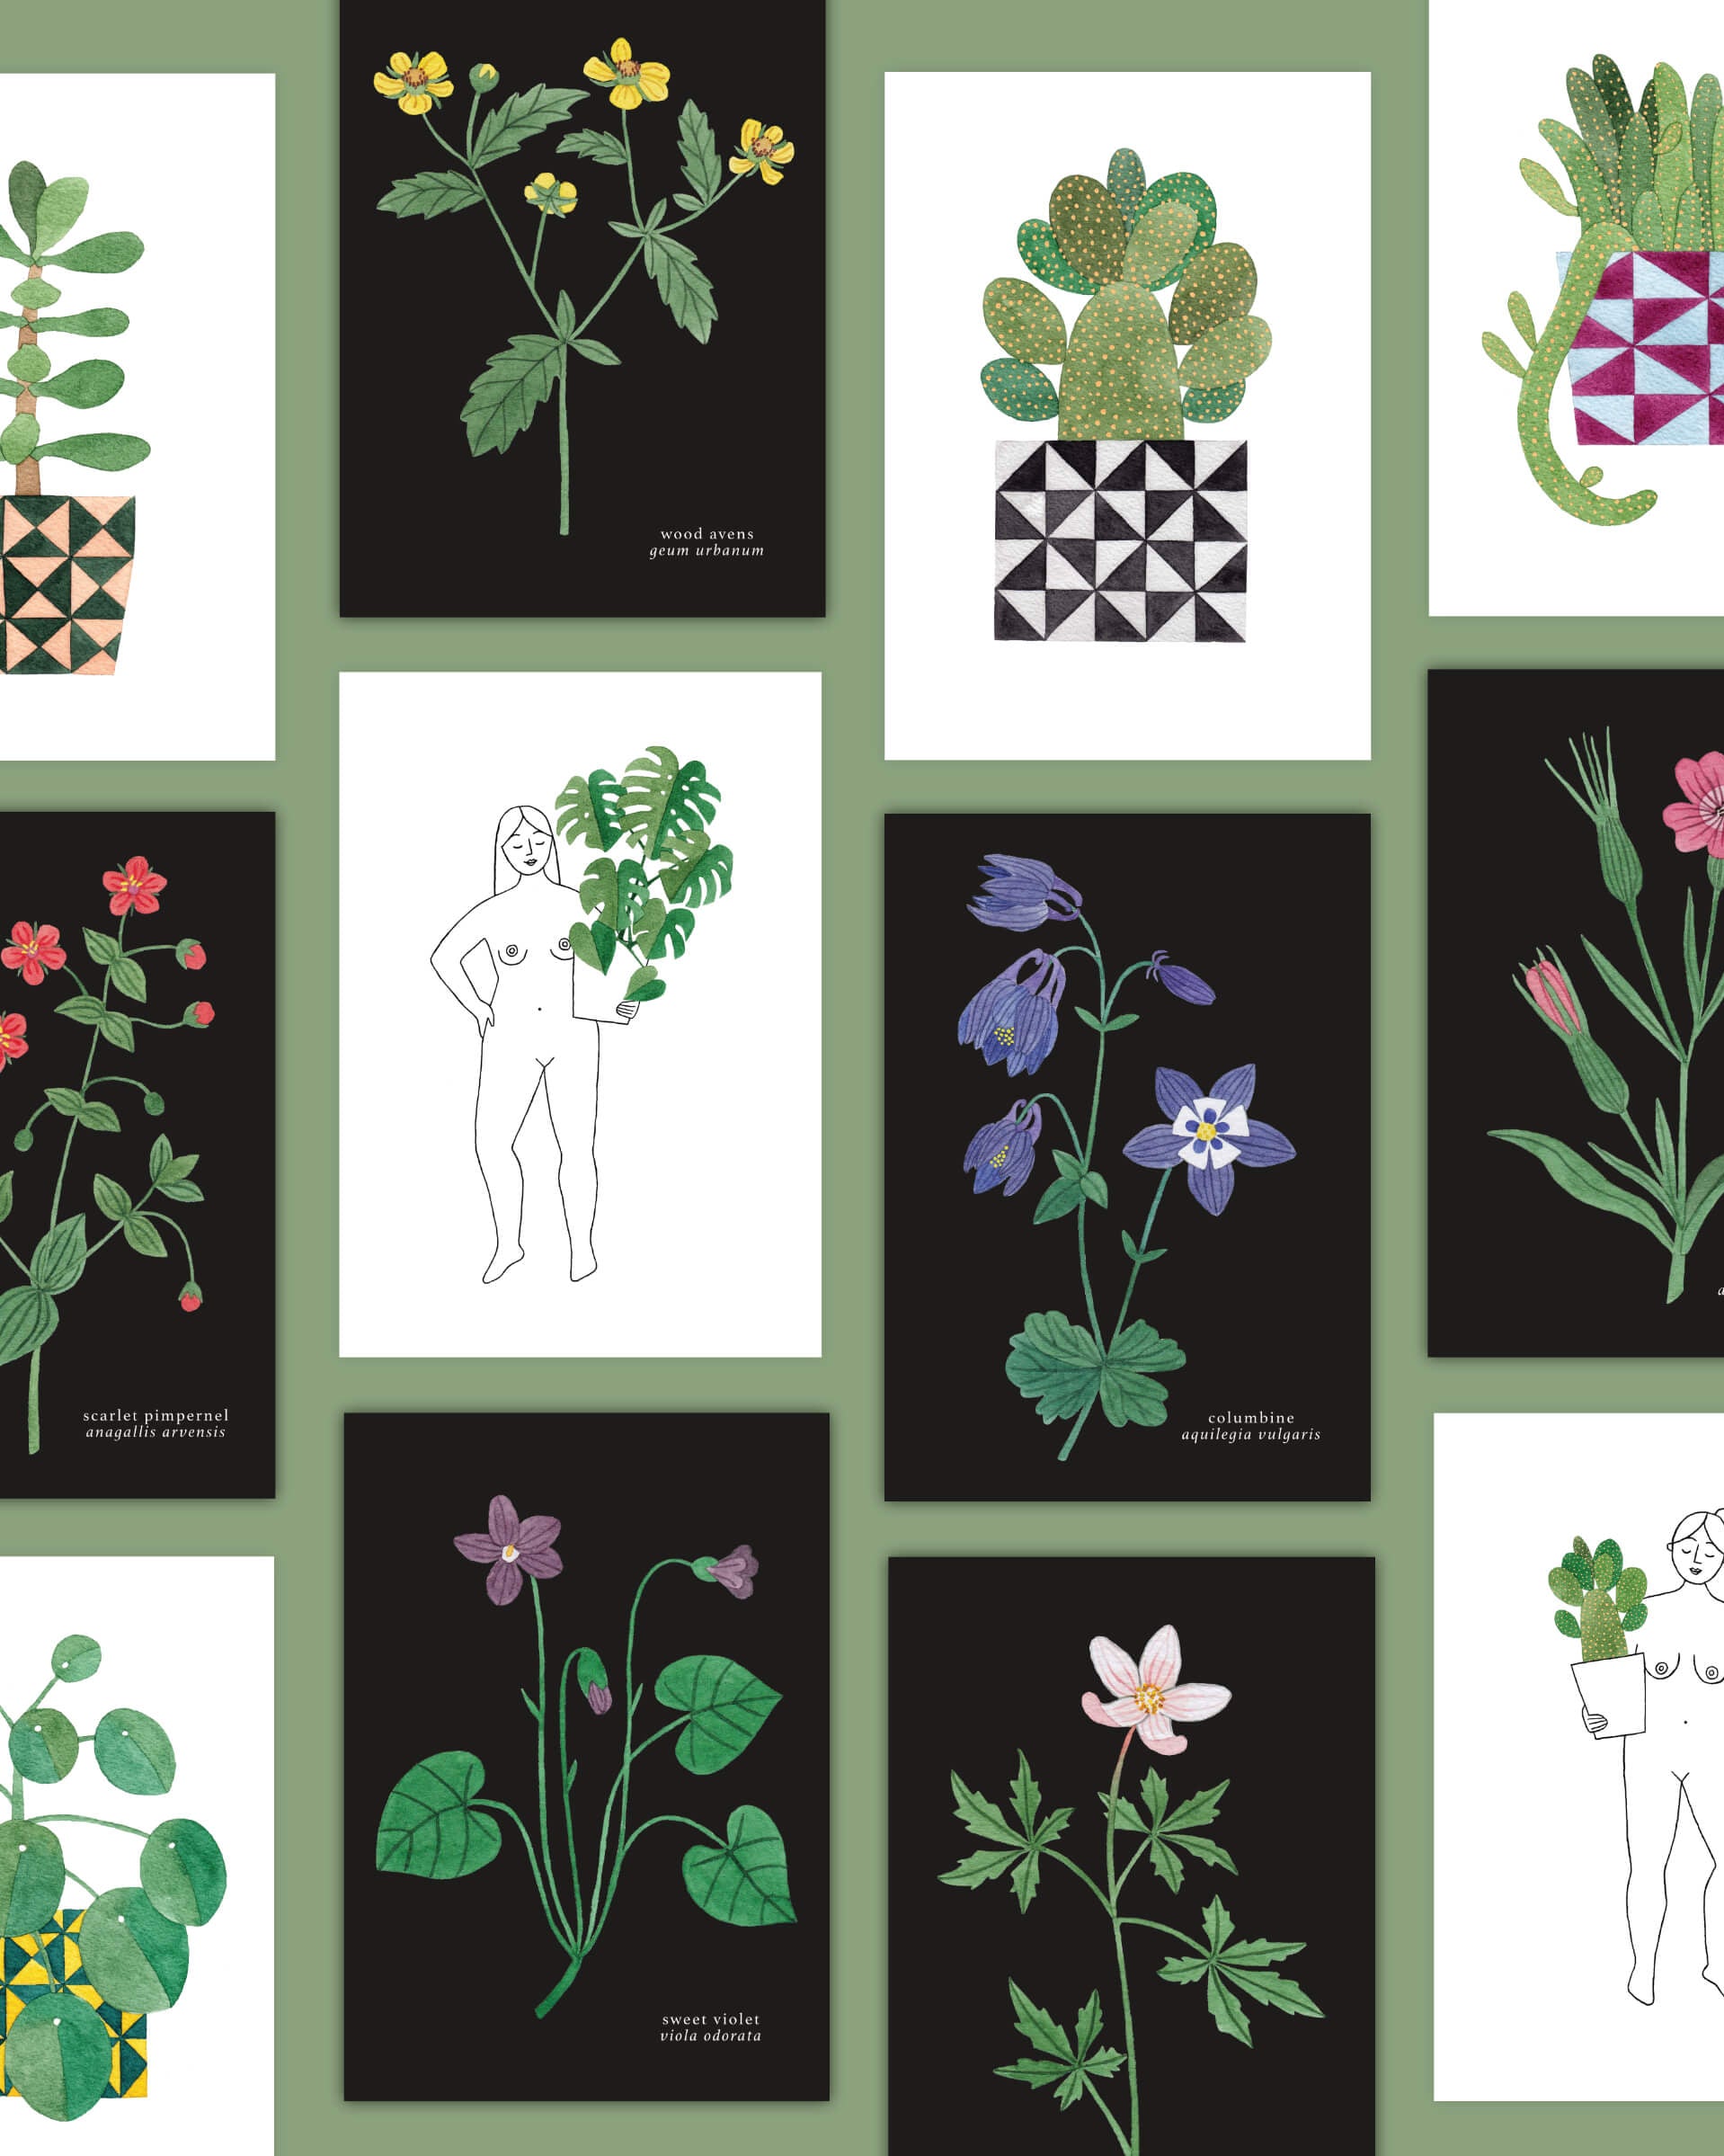
I picked four of my favourite things to paint:
- Monstera Deliciosa leaf
- Toadstool
- Pansy flower
- Flowering cactus
When the watercolour paintings were completed, I sent them to a company which printed them onto special paper with the ceramic inks, making them into waterslide decals.
Glazing the tiles
Before I started decorating the tiles, I needed to glaze the bisque tiles with a transparent glossy coat and fire them. Some came up with tiny imperfections, but most of them looked great. I think I need to improve my glazing technique and learn the optimal thickness of the glaze in future, for the more perfect finish I’m looking for.
Decorating the tiles
After cutting up the sheet of decals into an individual piece, I soaked each piece in a lukewarm water for them to go flimsy and then I carefully slid the top inked layer onto the glazed tile. I tore a few pieces in the process so there was a learning curve! I ended up with 16 decorative tiles, 4 each of the design, and nervously loaded them into the kiln again.
Firing the tiles
I was overjoyed when I opened the kiln! The colours were beautiful, even though they were different than they were before the firing. I was so pleased with how my paintings look on ceramic tiles, even though there were some imperfections from the glazing.
Here’s hoping that I nail the right consistency of the glaze next time and a more successful batch! Still, these are a lovely start and they’re available on my webshop at a reduced price.